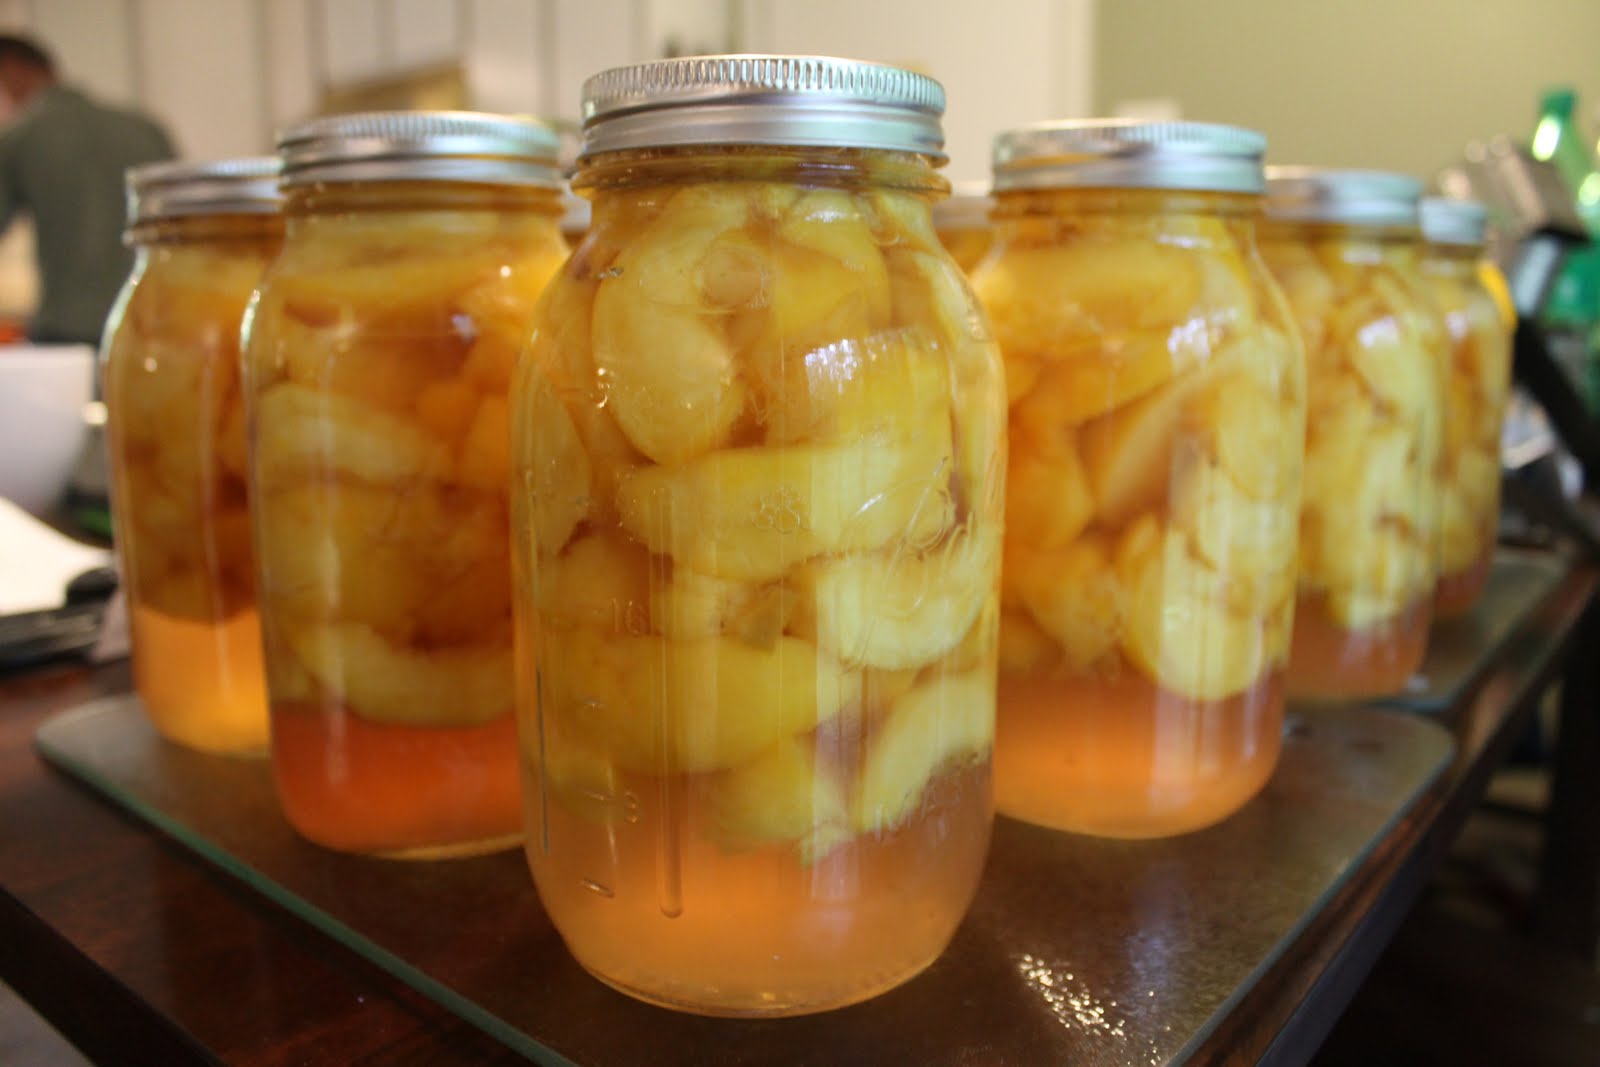
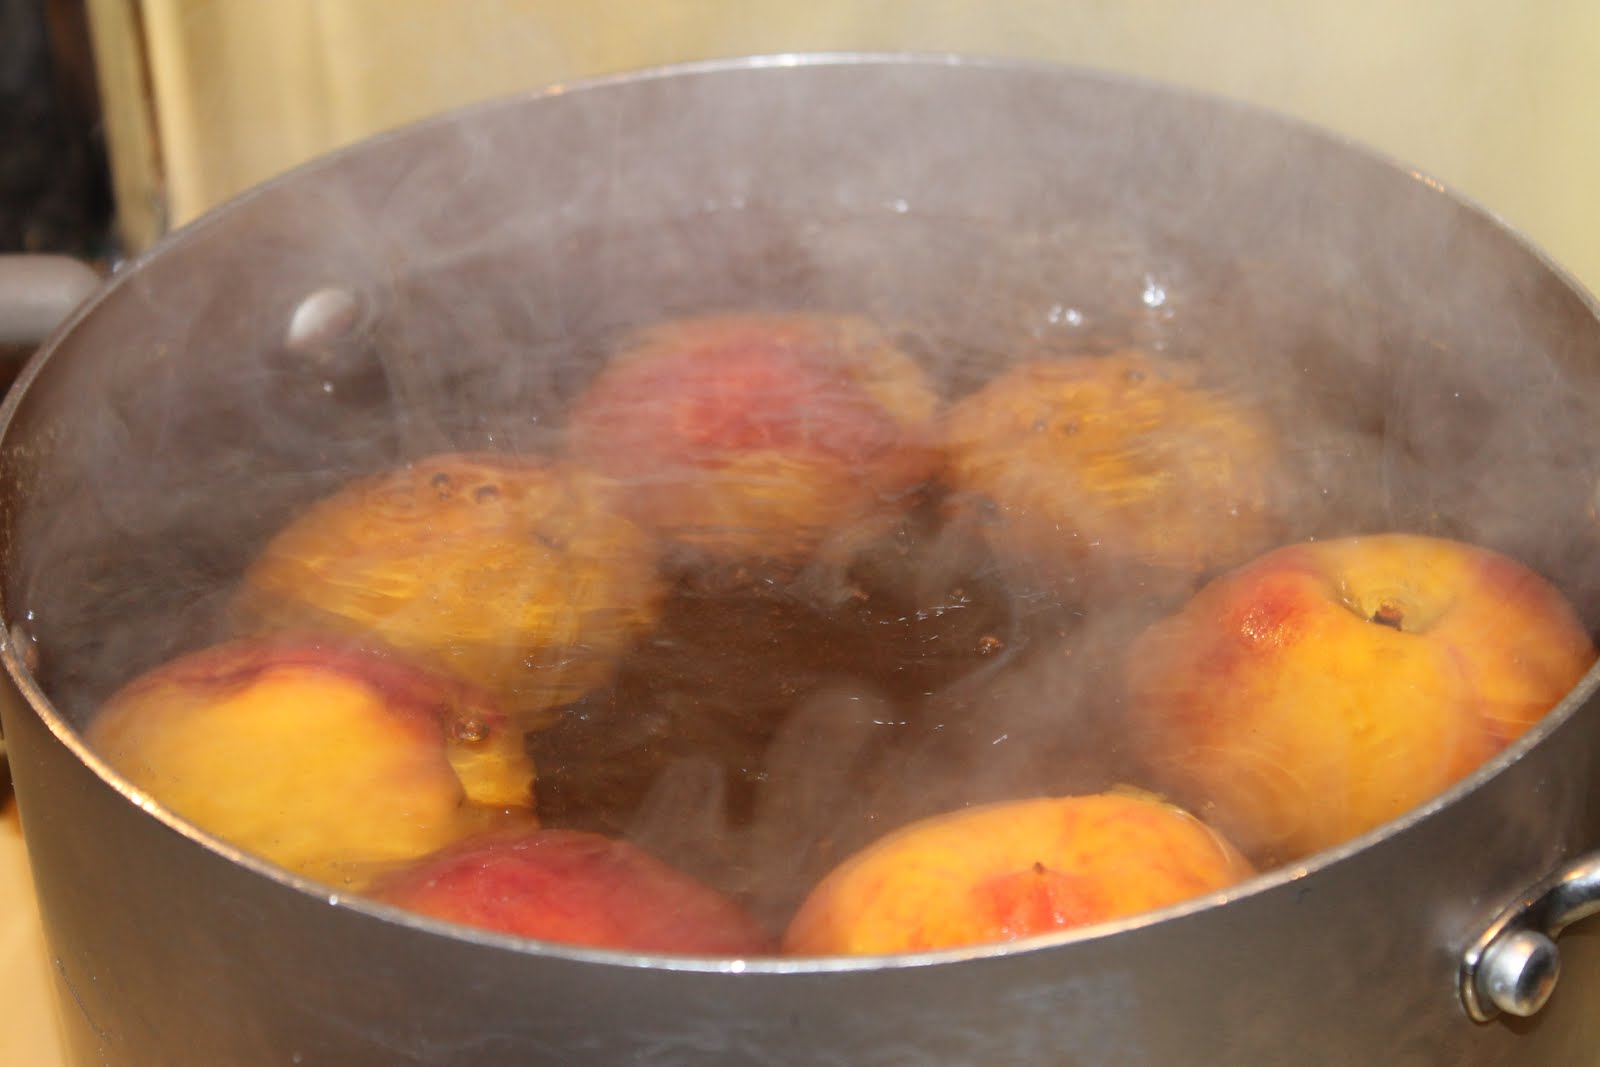
On Tuesday, Mom O-C came over to help me with my first grown-up canning lesson. I haven't canned anything since I "helped" my mom when I was a kid so I obviously didn't remember much. :) She was such a big help and explained everything so well. Not to mention she had all the tools I needed! We ended up having a great morning/early afternoon of canning and chatting. What a great combination!
Here's a picture of the beans:

We did 4 pints of pickles then today (Thursday) my brothers Justin and Michael helped me to make another 4 pints. Love my bread and butter pickles! We took pictures of the steps today because I had 2 assistants to keep me from making a mess of things by trying to make pickles and take pictures. Here's my beginner explanation of making Bread & Butter pickles:
1. Pick cucumbers at a small to medium size. You'll need about 8 cukes to make 4 pints.

2. Fill boiler canner (aka, the giant pot with a wire rack inside) halfway with water and put on medium heat. (It won't take so long to boil later if you get it heating now.)
3. Wash 4 pint sized jars. Set on rack to dry. Check for nicks on the lip because it won't seal if there is and that kinda defeats the purpose of canning in the first place... Put lids in small amount of water on the stove on low heat.
4. Now, I did the cheater way of making pickles by purchasing a pre-made pickle mix by Ball instead of making my own. I'm all for homemade, but this saved me some $ and time. Mix the spice mix according to the package (add 2 1/2 c. vinegar and 2 1/2 c. sugar). Put this mixture on the stove on medium high heat and stir occasionally.** Keep an eye on this while you do the next part because you need to bring it to a boil before you can pour it into the jars.

5. Slice pickles using a mandolin slicer or a food processor. I used a food processor and whoa buddy did it save me time! Plus it churned out some pretty darn even slices too! Fill the jars with cuke slices as full as possible.


6. Using a funnel, ladle the hot brine mixture into the jar of cukes to where the neck meets the bottle. (Don't inhale too deeply when your face is near the pot. You'll burn your nostrils and make your eyes water because of the strength of the vinegar. I'm just saying...)

7. Using the spatula-like tool, poke it down into the jar to get out any air bubbles. Wipe the rim of the jar to get any liquid and stickiness off.

Use the magnet stick thing to get a warm lid and place on top.

8. Put a band around the lid and place into the boiler.

9. Repeat 6-8 until all jars are full. Lower the wire basket into the pot and add more hot water until the water covers the jars by an inch or so.
10. Put on the lid and turn the heat on HIGH. Once the water boils, set a timer and let it boil for 15 minutes.
11. Remove jars from pot and set on a cutting board to cool.

12. Wait to hear that joyous popping sound that lets you know the jar has sealed and all your work has not been in vain! Then don't disturb the jars until they cool. They will taste best after sitting upright and undisturbed for 4-6 weeks. Or so the package says. :)

And there you have it. Pickles 101.